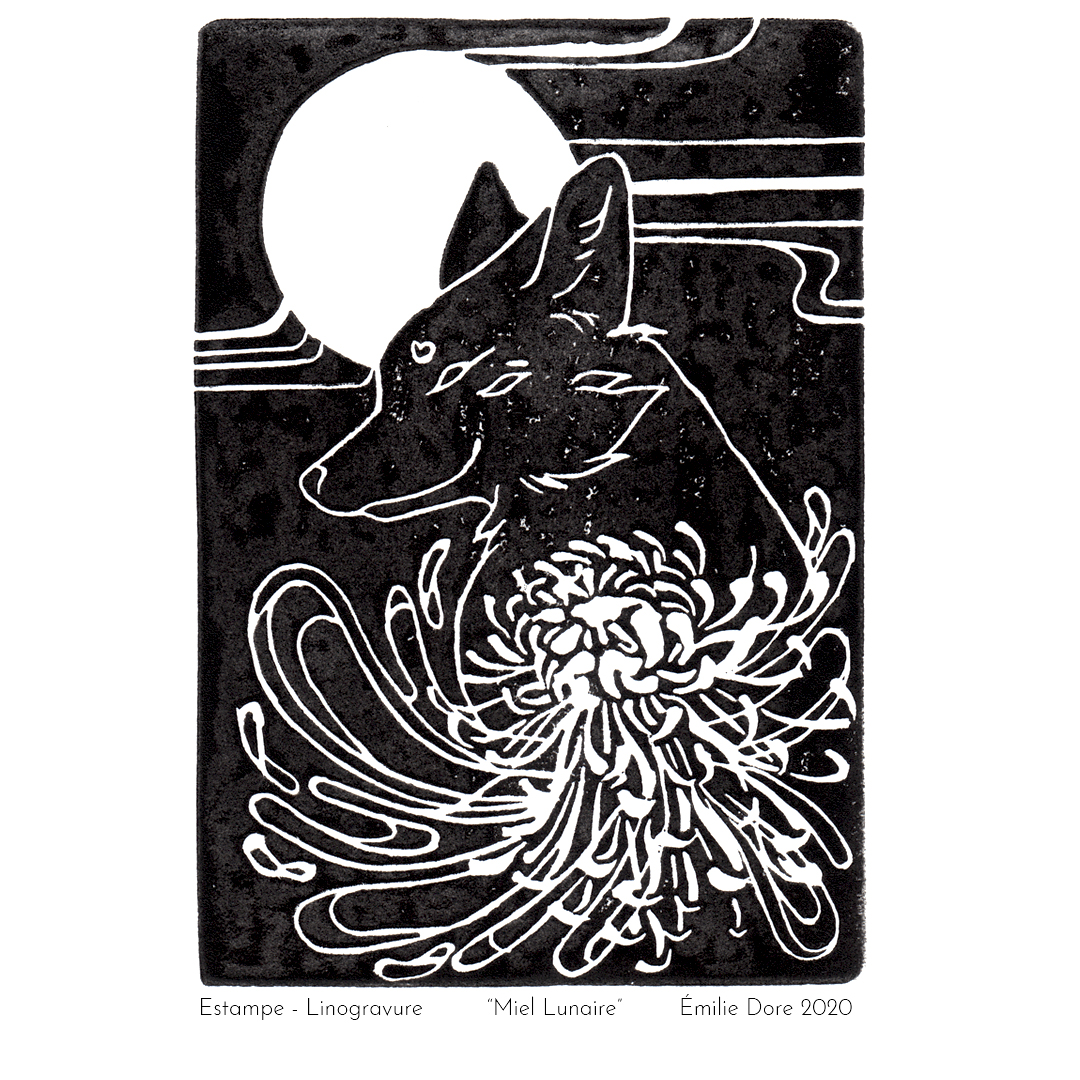
To head start the year 2021, I offered a limited series of prints entitled “Miel Lunaire”. An art piece created using a classic engraving principle made on linoleum.
Linocut is an engraving technique with the raised (uncarved) areas to be printed. The linoleum sheet is inked with a roller (called a brayer), and then impressed onto paper.
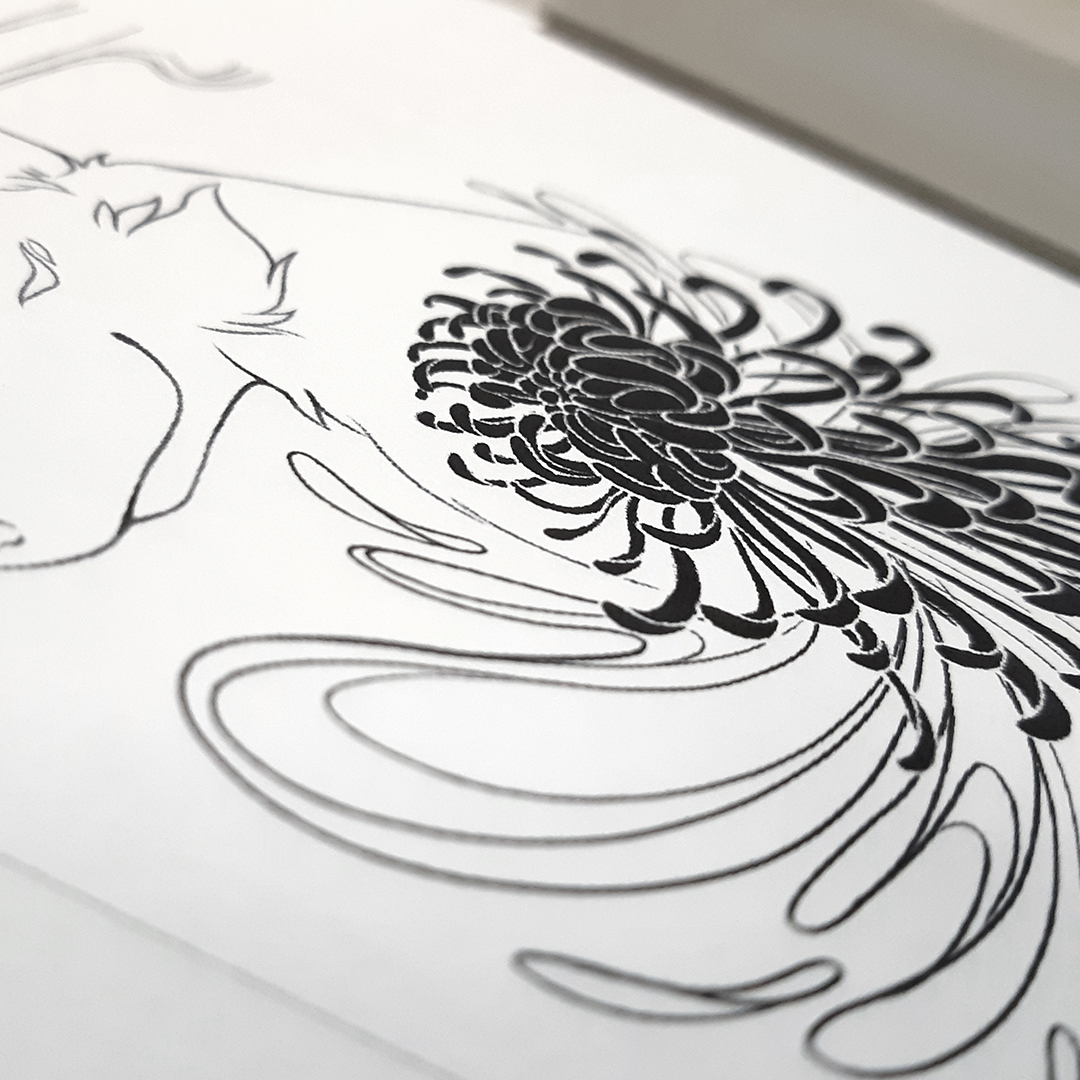
Before starting to engrave, I sketch my ideas on paper. I test my result on black paper using white ink to recreate the full and empty space that will be represented during the transfer of the die with actual ink.
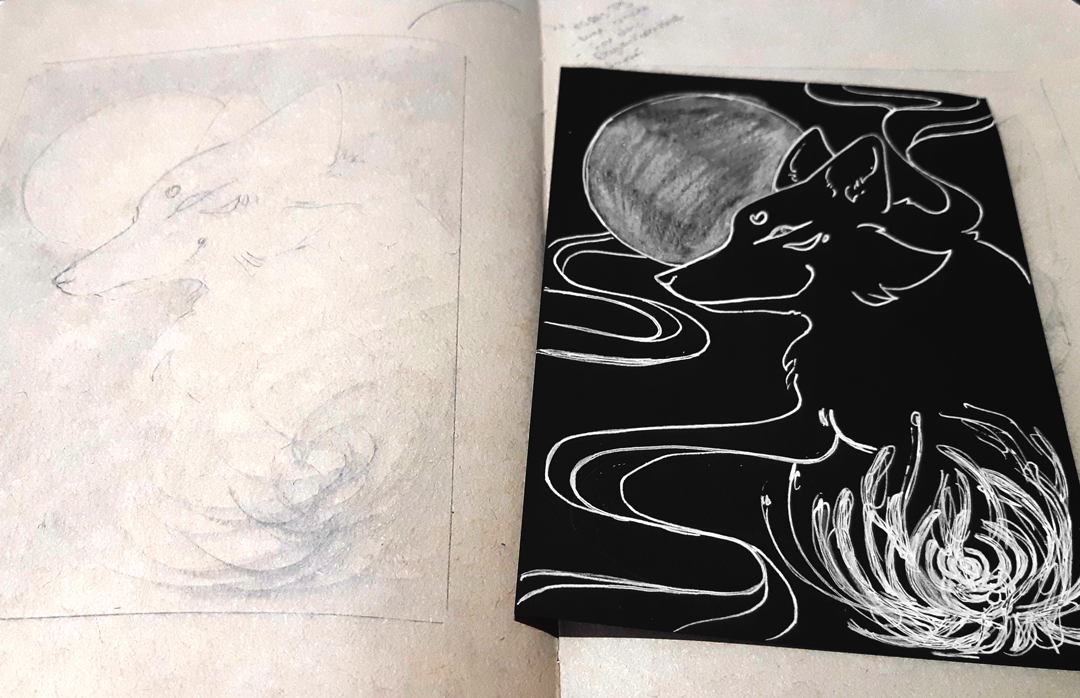
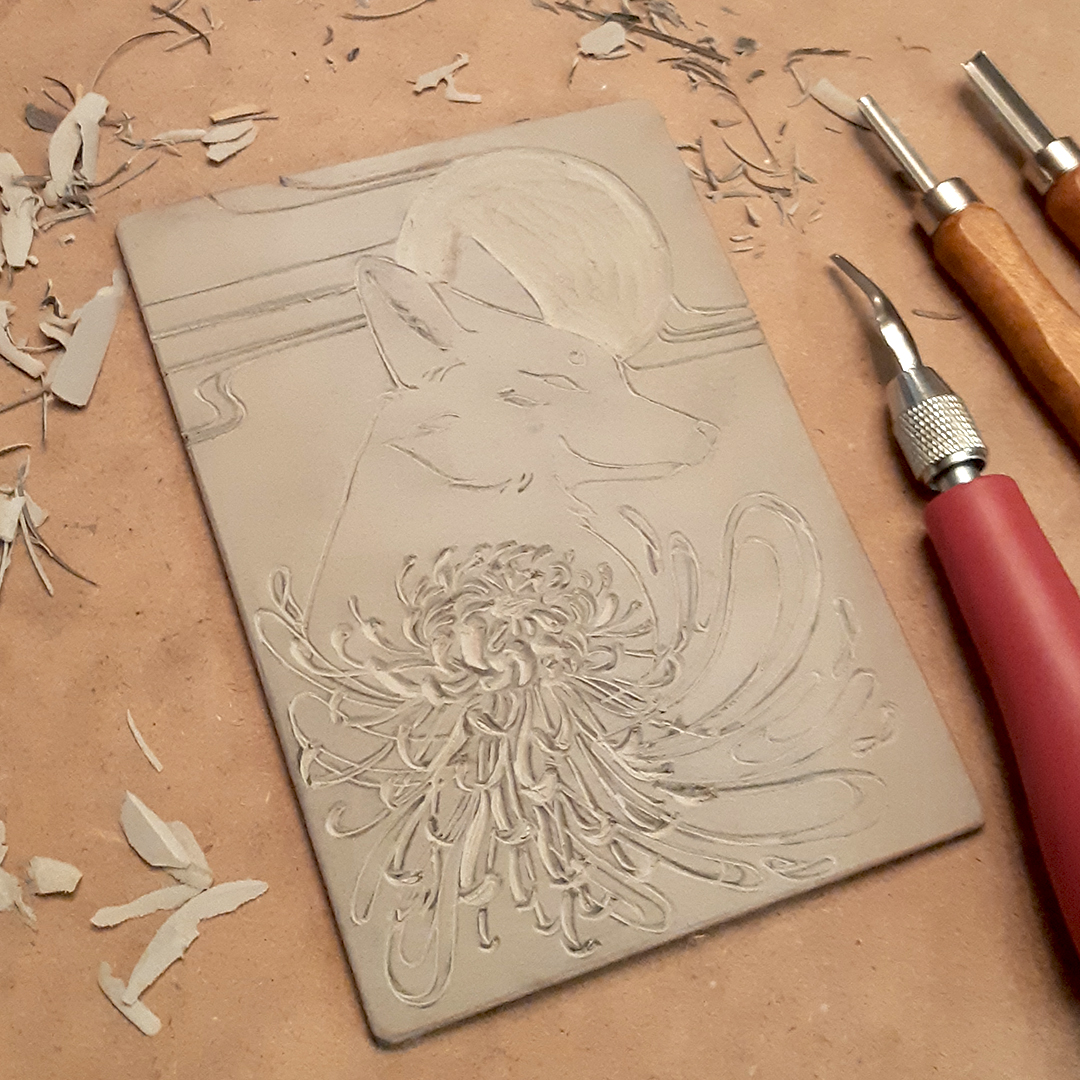
When satisfied with the result, I reproduce it – reversed – on the linoleum. This gives me a faithful visual of my future image. I am now ready to etch it.
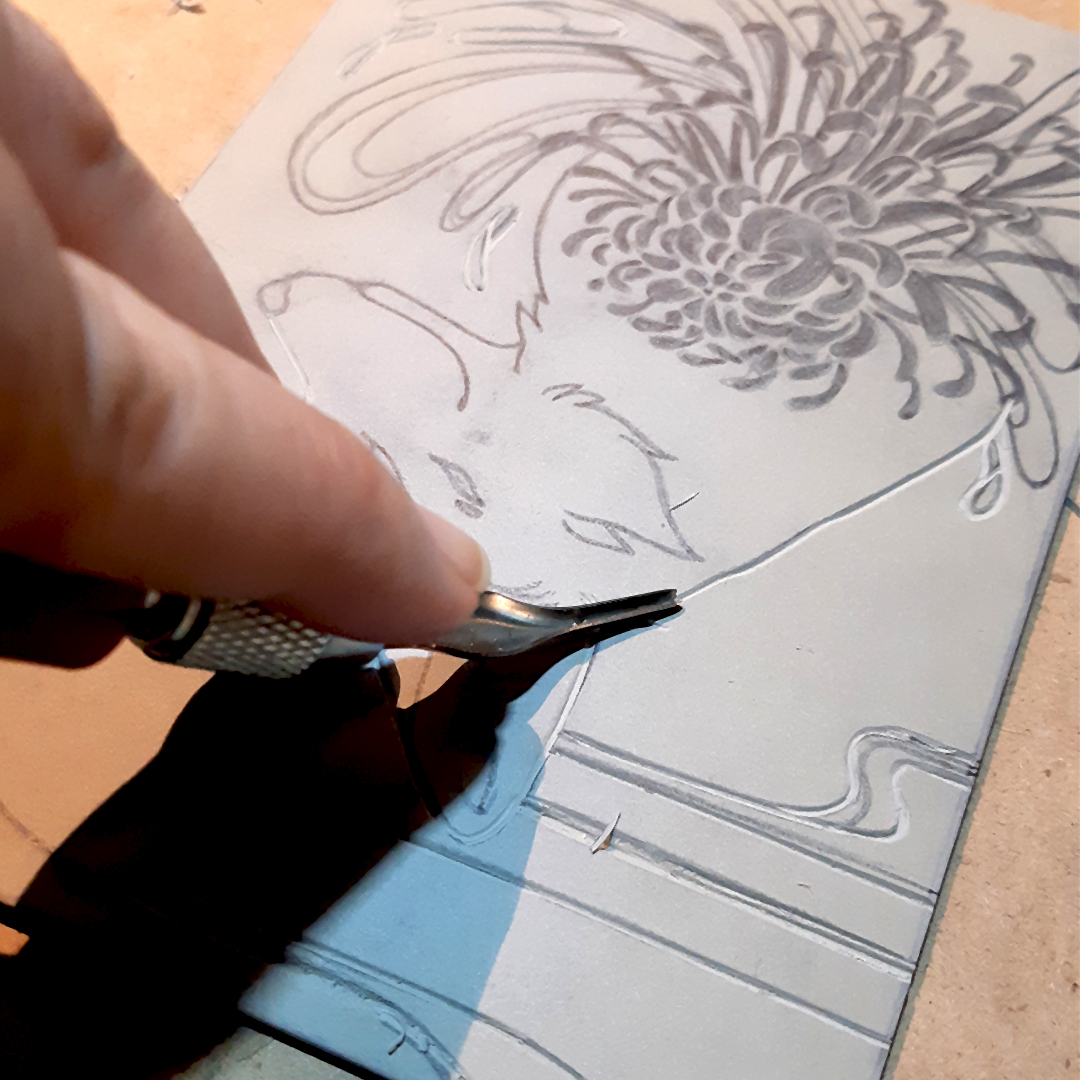
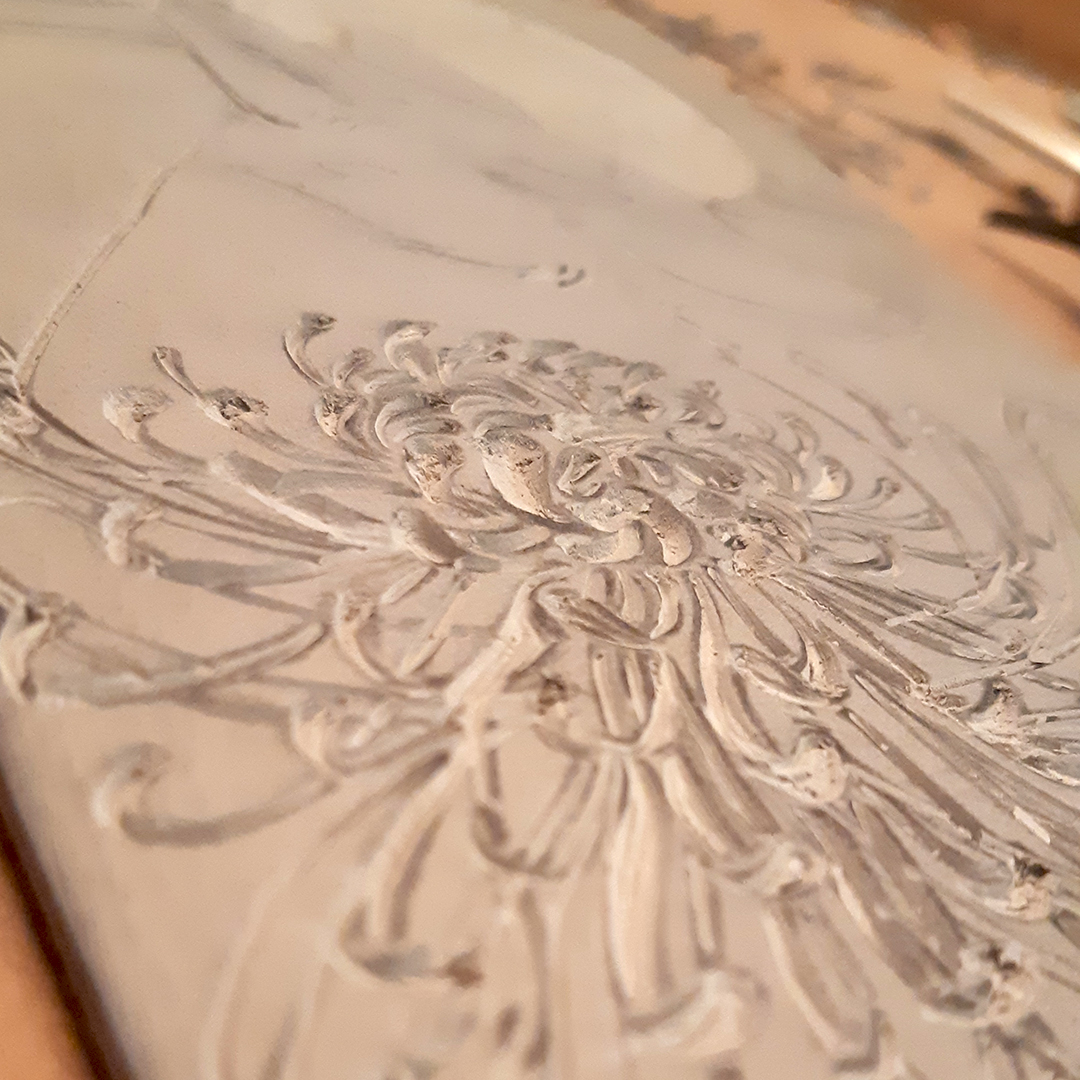
I use an “S” plate to stabilize myself and avoid cutting myself. The tools used in wood engraving are ideal for linocut: chisels or gouges are the basic tools. They are often sold in sets with a handle and interchangeable heads of different sizes and shapes (V or U). I mainly use V shaped gouges, they allow me a better control of the fine details to engrave. Everything that will be printed is preserved, spared, the “blanks” are hollowed out, carved out with the gouges.
The next step is printing. The inking of the linoleum plate is done using a brayer. Ink is applied over the entire surface; after cleaning the linoleum. The ink used here is water-based and archival quality. The difficulty is not to stain the plate, the fingers, or the sheet, so better keep your fingers clean at all times!


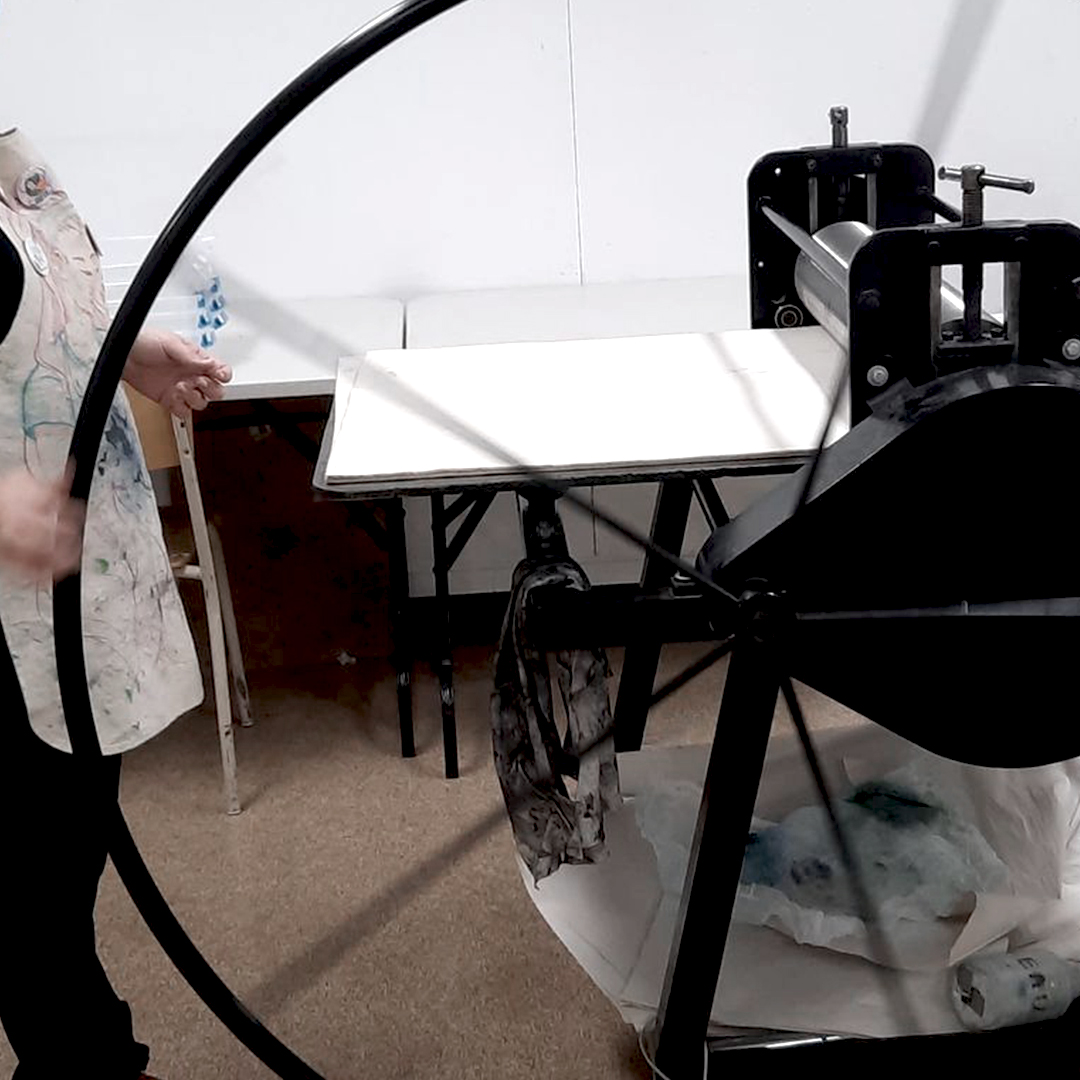
It’s time to go to the press! Different types of presses can be used: here I use a manual engraving press with a plate courtesy of the visual arts department of Cégep de Drummondville. It is important to help yourself with a registration to properly position the paper and the die so that each print is almost identical.
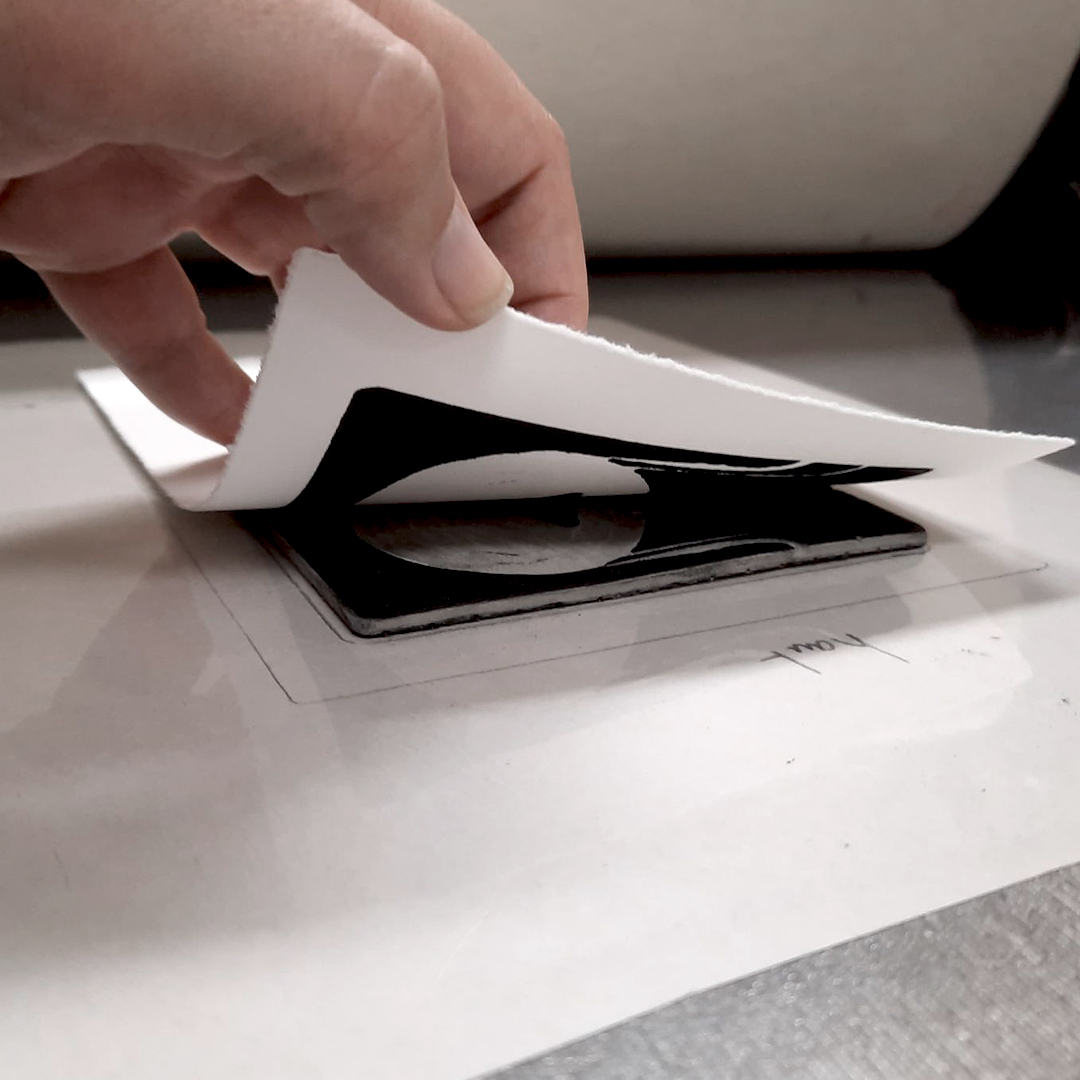
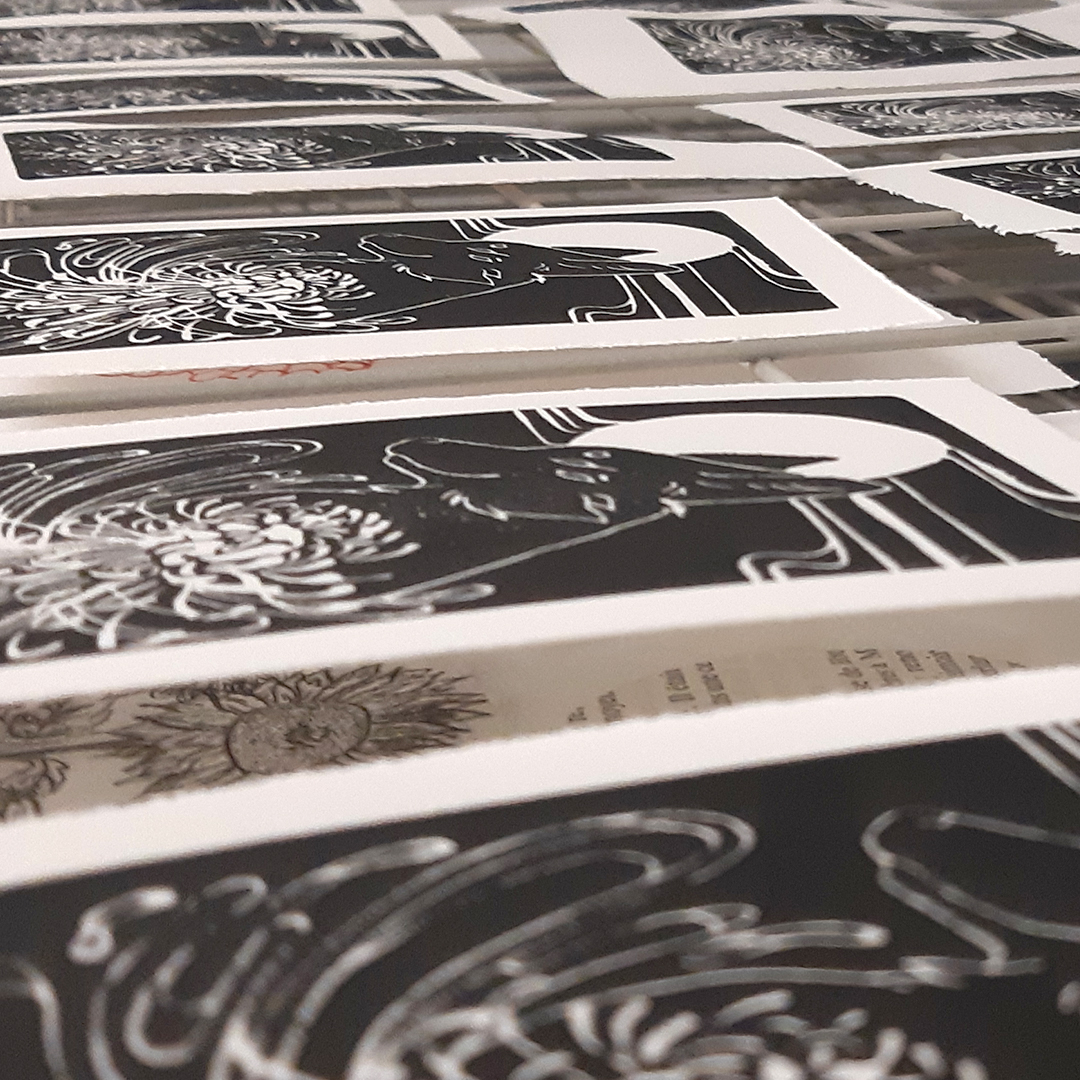
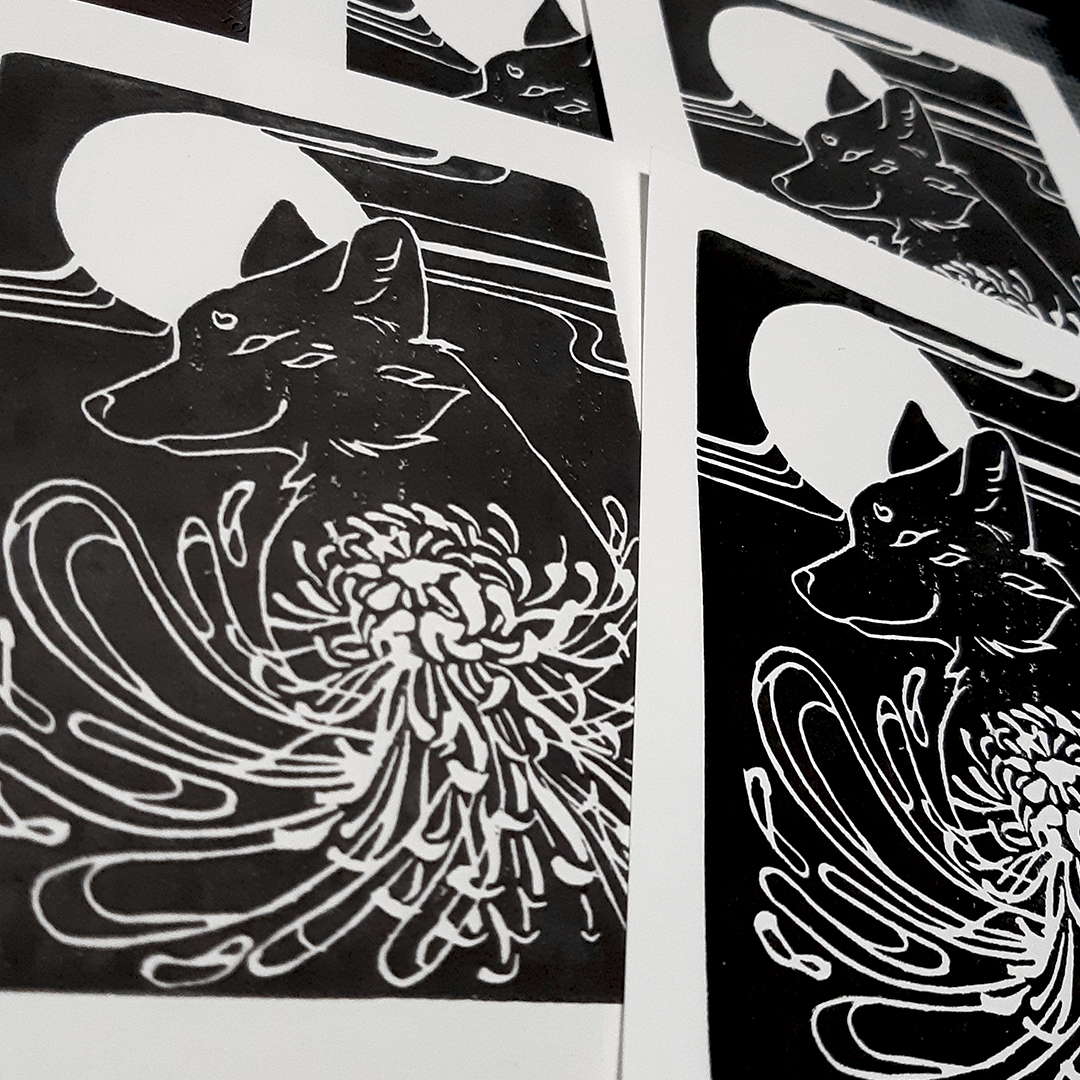
The number of prints is often limited, this is due to the crushing of the die. On the other hand, a well cut and carefully handled linoleum can provide more than ten prints without the sharpness of the line having to suffer. Now it’s time to let it dry.
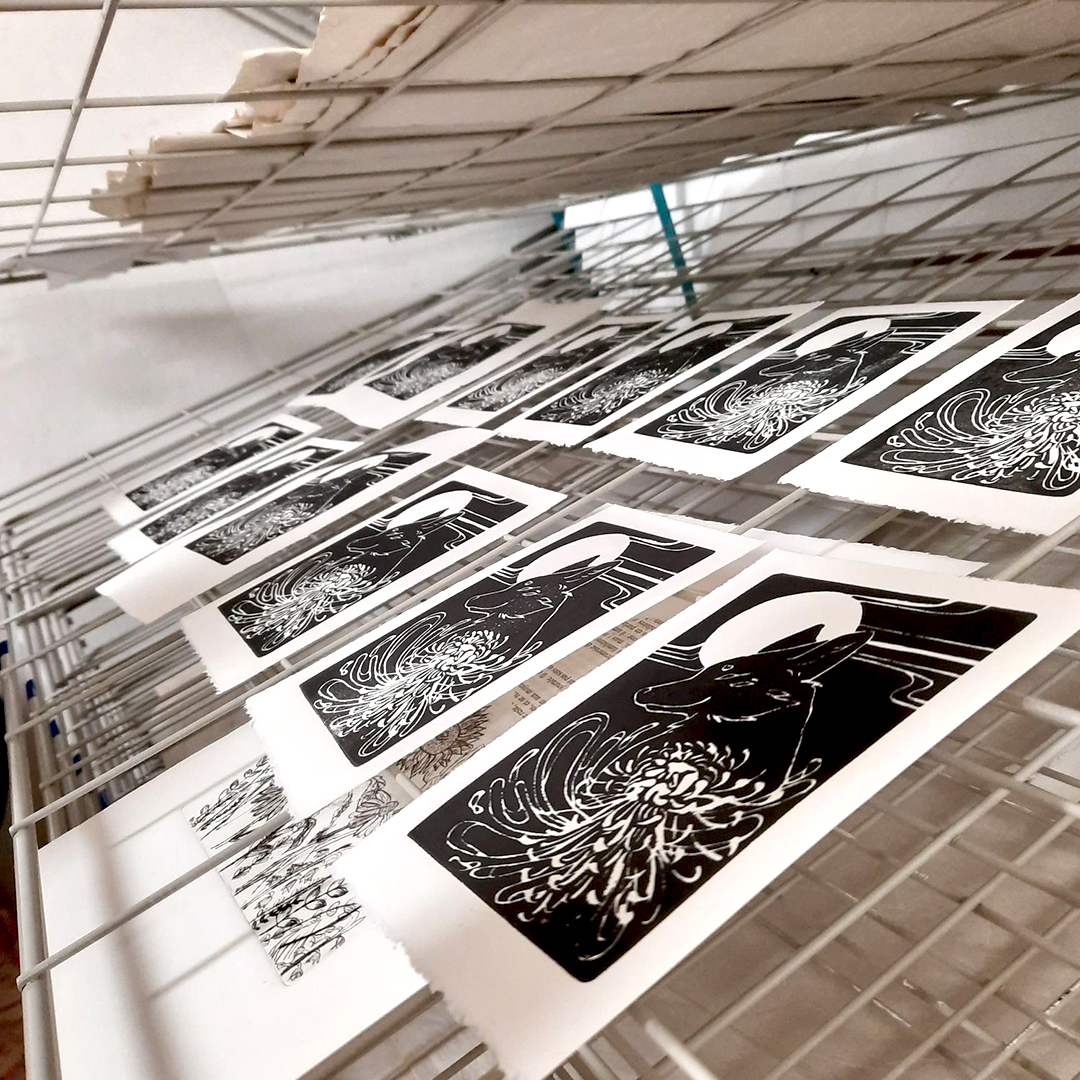
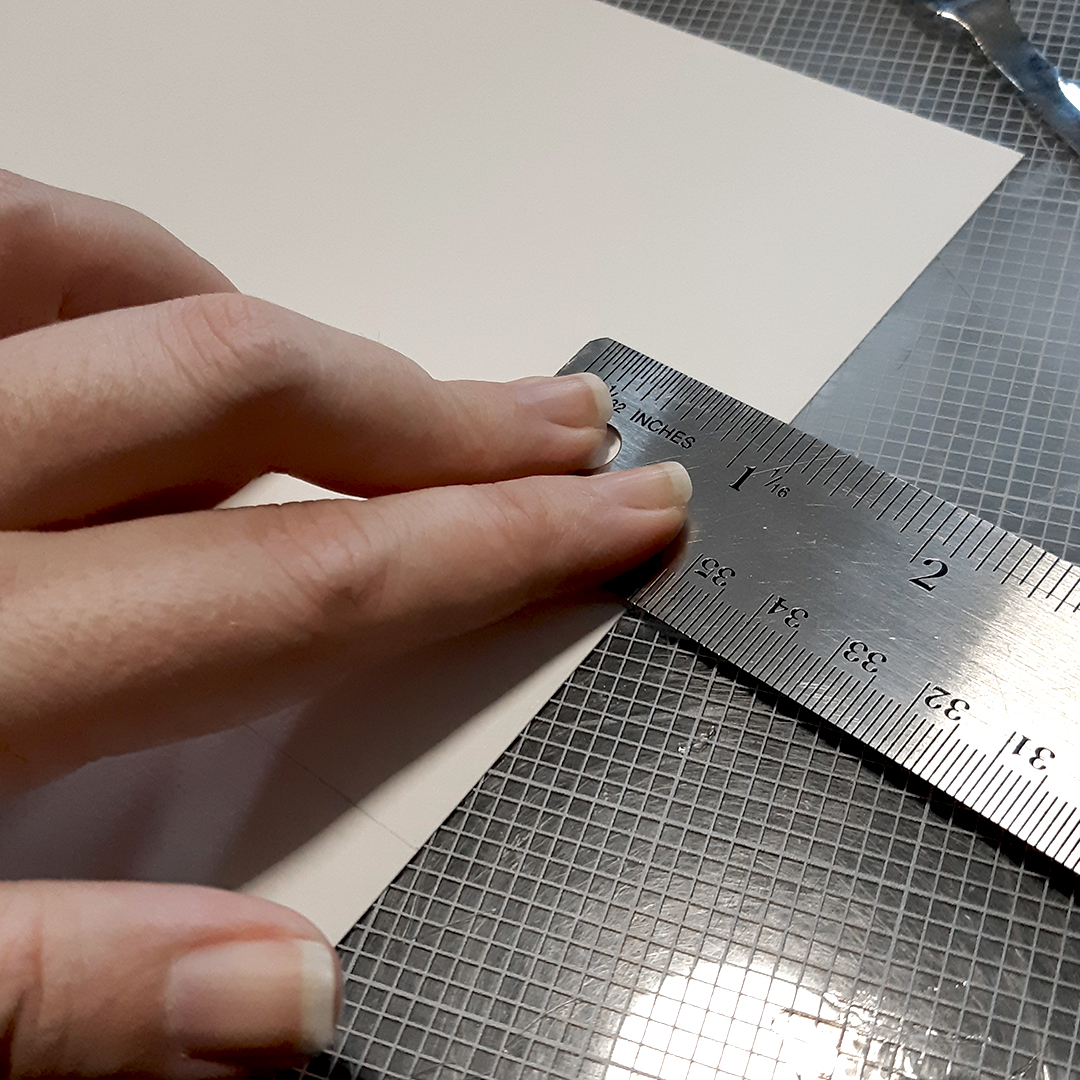
Another step is the numbering. To ensure the legitimacy of the series, it is important to properly annotate and number the prints. I also take this opportunity to cut my papers for the digital version of the print. As with the manually inked print, I favor a pronounced and textured fringe at the bottom of the work. I like this kind of detail and especially cut the paper using a letter opener instead of a scissor. The imperfection and randomness of manual labor bring me great pride in the presentation of my work.
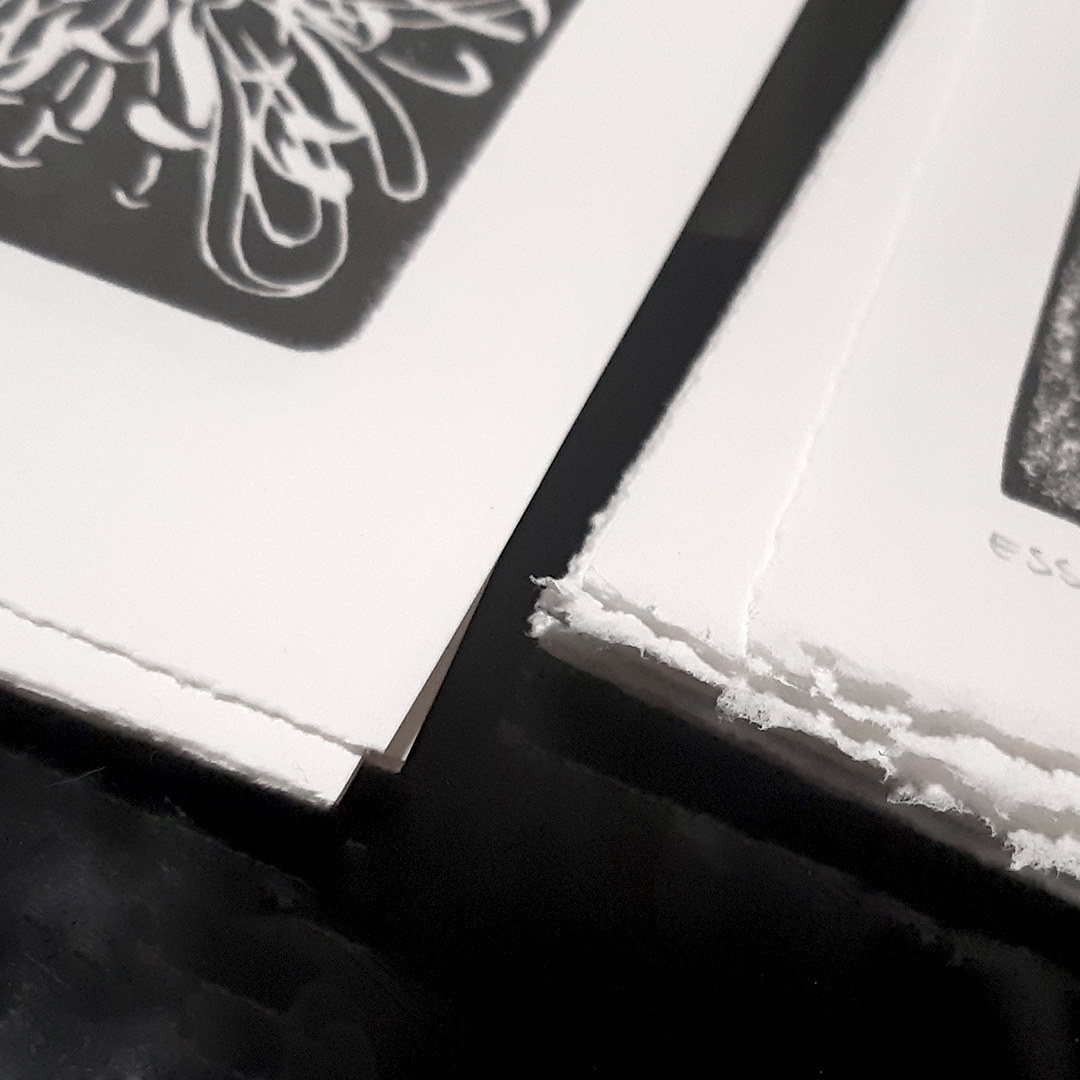
For digital prints, I scanned my best inked print. I then calibrated the image on the computer to keep it faithful to the original model. Thanks to my professional printer, I was able to use textured, thick and quality paper as well as archival ink. These two components are therefore consistent with the print inked manually.
This series is limited and offered to people who inspire me and accompany me in my artistic journey. I begin this new year with passion that I will devote more to my practice in visual arts.
Do not hesitate to contact me if you are curious to try this technique and have any questions.
Leave a Reply